Monday, May 30, 2011

May Monthly Challenge: Tic Tac Toe Challenge....


The Challenge: Create a project of your choice using the Tic Tac Toe board above to choose THREE challenge prompts in a row. Project must include atleast 2 different Cricut Image Cuts.


Rules and Guidelines: Circle Blog Challenges are open to Cricut Circle Members only. You can create any type of project you would like (tag, altered project, mini album, etc.) but your project must be newly created for this challenge and include atleast 2 Cricut Image Cuts. You must submit a project to be entered into the Challenge Prize Drawing. One entry per person, please.

How to Enter: Submit your entry using the InLinkz tool found at the bottom of this post. Please post your full name along with your entry. Entries are due by 9:00 pm MST on Monday, May 30th, 2011.

Prize: This month FIVE winners will be selected from the entries to win a Brand NEW Cricut Expression 2: 5th Anniversary Edition. Yep! FIVE WINNERS!!!! Please allow 4 to 6 weeks for delivery from winner announcement.

Winner: The winner will be selected randomly from qualifying entries using www.random.org and will be announced on the Cricut Circle Blog on Wednesday, June 1st, 2011.


Ok, I am OCD about separating laundry.  I have a hamper for different types of clothes, ie...darks, whites, lights, jeans, towels...etc.  Yes, go ahead and say it...OCD!!!!

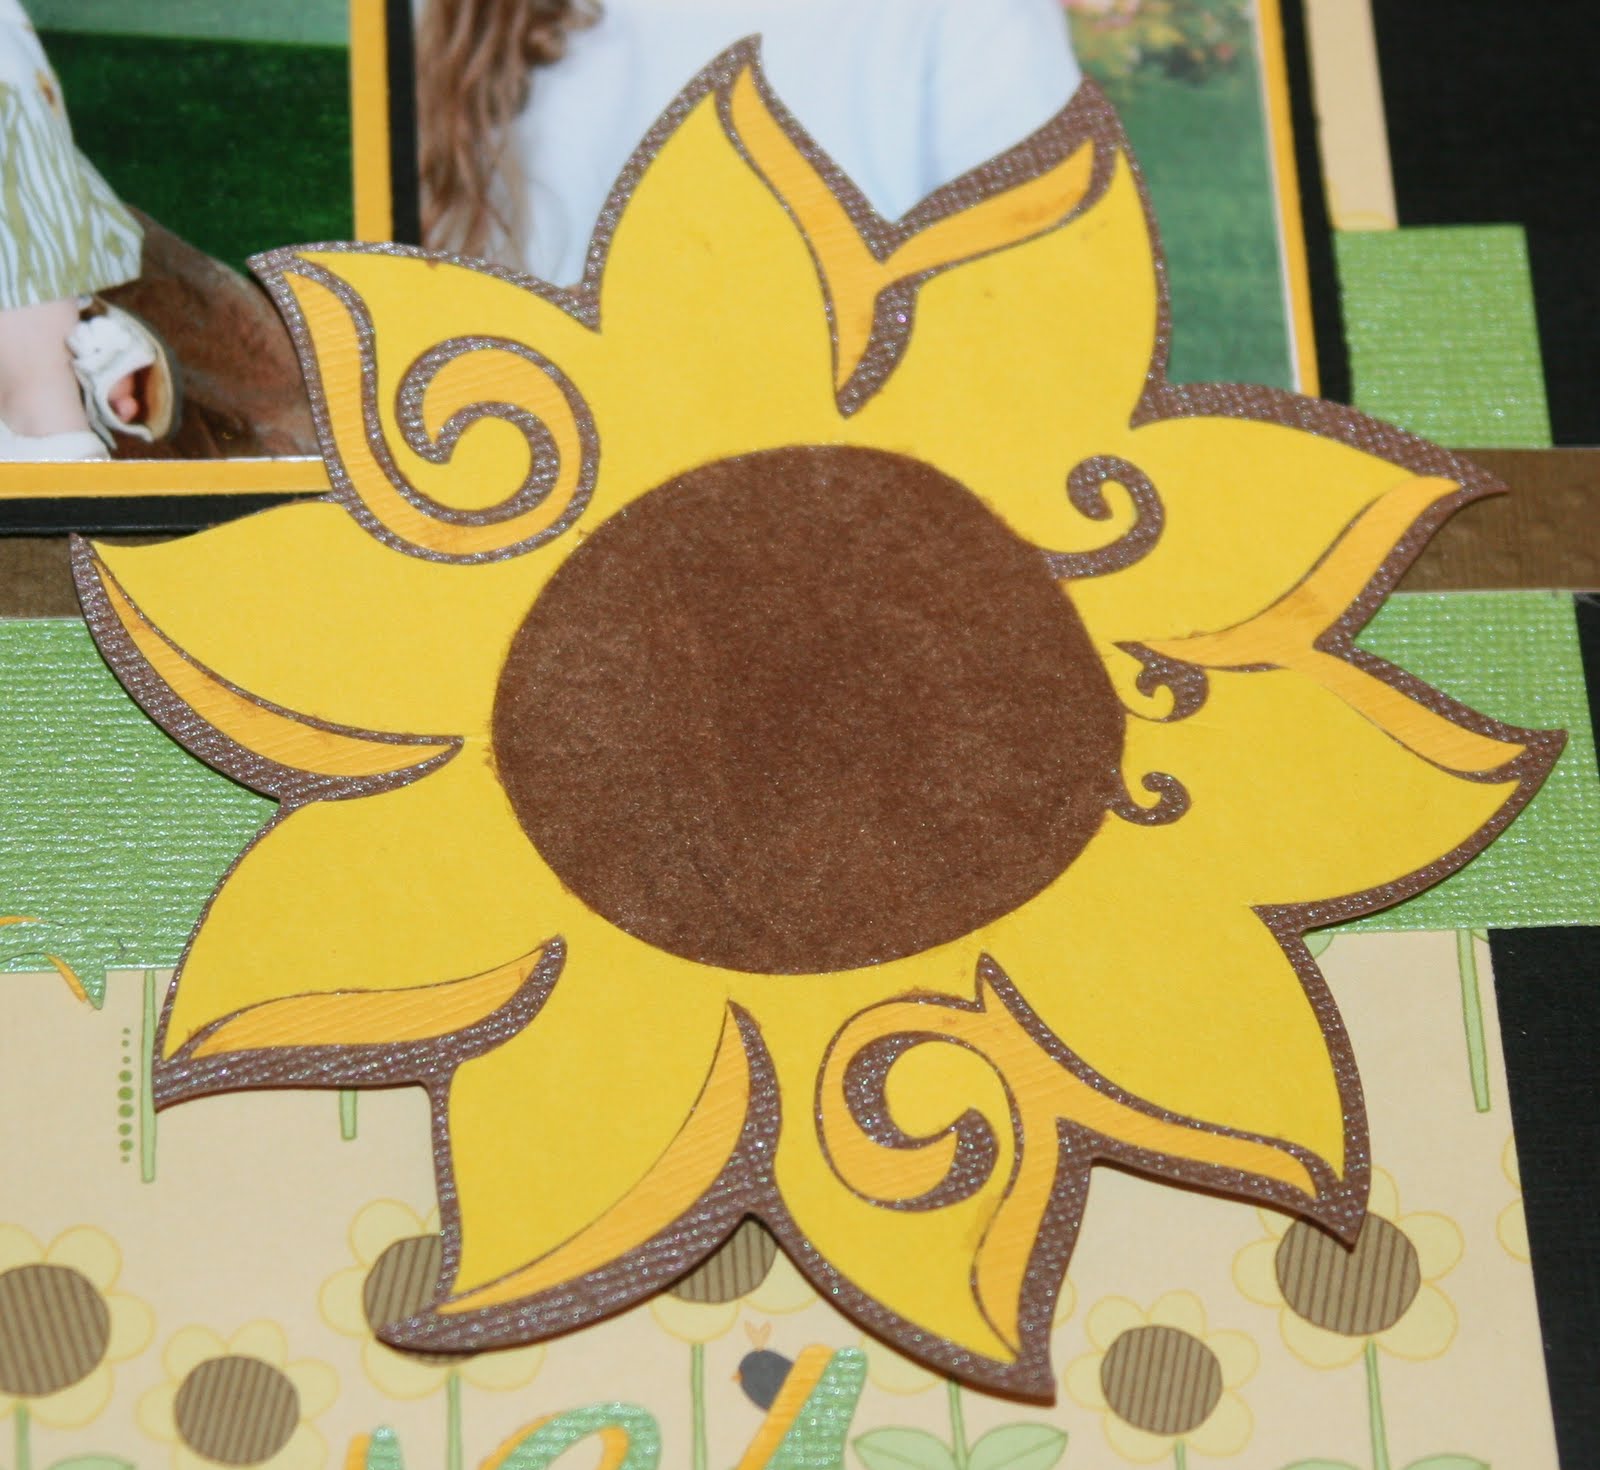
With this in mind, I re-purposed some plastic auto tags (yes, I got them from the thrift store) into signs for each hamper.  I am still working on them but wanted to enter at least one of them in the tic tac toe challenge so here is the one I made for the "whites" hamper....


I used the bottom row of the Tic Tac Toe Challenge board to create my project.  I used the Cricut Imagin Best friends cartridge for the laundry paper.  I used the Mickey font cartridge for the word "whites".  I used the Cuttlebug embossing folder Polka Dots to emboss the word white.  I used the Tinkerbell cartridge to add some "sun"flowers.  I love those sunflowers so had to use them in this project as well as my previous project. 

Here is a close up of the word so that you can see the embossing...

It's kinda hard to see but it is embossed with polka dots.  Here is a picture of the sign attached to the "whites" hamper....


My husband and kids think I am crazy but, I think this will help as long as they READ the signs and put the proper clothes in the proper hampers.  I hate sorting laundry so, hopefully this will make it easier for all of us.
Thanks for looking and good luck to all those fantastic entries!!  I would sooo love to win an E2. 

Wednesday, May 25, 2011

Weekly Challenge #32: Sketch Challenge!

This is the weekly challenge for the Circle Blog.... See my entry below....
The Challenge: Use the provided sketch to create a project. Feel free to turn it on it’s side, simplify or combine a few of the elements together for a card or home decor project, etc. You are welcome to create anything as long as we can see that you used the sketch as your inspiration. Have fun!


Rules and Guidelines: Circle Blog Challenges are open to Cricut Circle Members only. Your project must be newly created for this challenge and include atleast 2 Cricut Image Cuts. You must submit a project to be entered into the Challenge Prize Drawing. One entry per person, please.


For my entry I used Alexis' Spring 2011 preschool pictures.  Here is what I came up with....


Supplies:

Cricut Expression Machine
Gypsy
Tinkerbell Cartridge
Pooh and Friends Cartridge
Storybook Cartridge
Calligraphy Collection
Gypsy Font
Plantin Schoolbook


Paper:

Bazzil Basics Card Stock
Heidi Grace Patterned Paper Tall Flower
Vellum

Other Supplies:
Doodle Bug flocking, brown and black
Liquid Pearls, White opal
Pop dots

If you have any questions about the size of the cuts or which items were cut with each cartridge, feel free to contact me and I will provide that information for you.  Thank you for looking.  Don't forget to leave me some feedback.

Saturday, May 14, 2011

My Scrapbook Room

Hello, everyone.  I spent my day cleaning my scrapook room because it was a total mess.  It's not exactly the way I would like a scrapbook room but, it is a work in progress.  On the circle blog, there is a giveaway for National Scrapbook Week.  I decided to enter since I finally got my room a bit clean. 

Here it is...

Most of my cartridges are stored in the white cabinet above my cricut expression.


Sewing machine and baby cricut.
Futon in front of the closet doors.  In the closet I have a small refridgerator to keep diet coke and snacks.
Here I am in my scrapbook room....

I look a bit tired in this pic, lol.  Well, hopefully in the future I will be able to show you pictures of my scrapbook room after I actually get it the way I want it.  I will be doing a little at a time.  I need to buy more jetmax cubes.  I hope you enjoyed seeing my space. 

Tuesday, May 3, 2011

Teacher Appreciation Gifts

I made tootsie pop bouquets for Alexis' pre-school teachers.  I made two different size flowers for each bouquet.  I cut the flowers from the George Cricut cartridge in size 2 1/2 and 3 1/2 inches. 


I found these buckets after Easter at Walmart for 50 cents.  The tootsie pops were half price.  There is a foam piece inside the bucket that I bought at Dollar tree.  A pack of two was $1.  I put green Easter grass over the foam.  I bought the Easter grass for 69 cents at Walmart.  I used green ribbon that I already had to make leaves on each flower.  The paper is cardstock that I already had.  I cut the 2 1/2 inch flowers out of white paper and inked the edges with pink ink for the pink bouquet and purple ink for the purple bouquet.  For the 3 1/2 inch flowers I used pink and purple cardstock and inked the edges with pink and purple to accent the edges.  I cut the bees from the Disney Pooh Cricut cartridge.  I cut the wings off of the original bee cut out and put wings cut from vellum on the bees.  I made the bees double sided to look like real bees.  I put liquid pearls on the wings to make them look a little shimmery and real.  I rolled craft wire around a pencil to make it into a spiral.  I attached the bees to the wire with hot glue.  I cut the scallop tag with the Celebrations cartridge at 3 inches.  My husband helped me with the next part.  He printed the phrase "Thank you for helping me bloom!" on a 2 1/2 inch circle.  I attached that to the center of the scalloped circle.  I inked the edges of the scalloped circle.  On the back I put "Teacher Appreciation Day May 3, 2011".  Then I put to and from with the teacher's name and my daughter's name.  Here is a picture of the bees and the tag...
These made very inexpensive but, cute gifts that any child would be proud to give.  Alexis was very proud to give them to her teacher this morning.  She was telling them how mom made the flowers and the bees.  I was very happy that she was proud to tell them that her mom made these for her to give as gifts.  Thank you for looking and don't forget to leave me some feedback!!

Brenda
 

Design By:
SkinCorner